Paradox self help
Paradox self help
ENTRY DELAY TIMER
Your installer will program designated entry points (i.e. the front door) with an entry delay. This delay will allow you enough time to enter your code to disarm the system before the alarm is triggered.
DISARMING AN ARMED SYSTEM
You can only disarm the area to which your User Access Code is assigned. User Access Codes with the Arm Only option cannot disarm area(s).
| How do I disarm the system? The keypad will beep and begin the Entry Delay Timer. 1) Enter your [ACCESS CODE], you will receive three beeps and a message that says "System Disarmed" or "System not Ready" Note: If you have access to more than one area, press the area’s number, press the [0] button for all areas, or scroll and press [ENTER] when the area you want to disarm appears. |
If enabled by the installer, a One-Touch Button or a keyswitch can also be used to disarm the area.
| How do I disarm an accidentally triggered system? 1) Enter your [ACCESS CODE]. 2) Call your Security Company quickly to advise them of the false alarm. |
ARMING THE SYSTEM
This method is used for the everyday arming of the system. All zones within the protected area must be closed to arm the system.
| How do I regular arm the system? 1) Enter your [ACCESS CODE]. When the countdown timer acitvates, you may leave the building. |
Note: If enabled by your installer, the One-Touch Buttons or a keyswitch can also be used to arm the area.
Your system will record all the alarms that occurred during the last armed period. If an alarm was triggered, the keypad will display “Alarms in Memory”, or "Memory" in the top left of a Wireless Keypad.
| How do I view the list of the alarms that occurred? When an alarm has occurred, the LCD screen will display “Alarms in Memory [MEM] to View”.1) Press the [MEM] button. Each zone whose alarm was triggered will appear below “Alarm in:”.
|
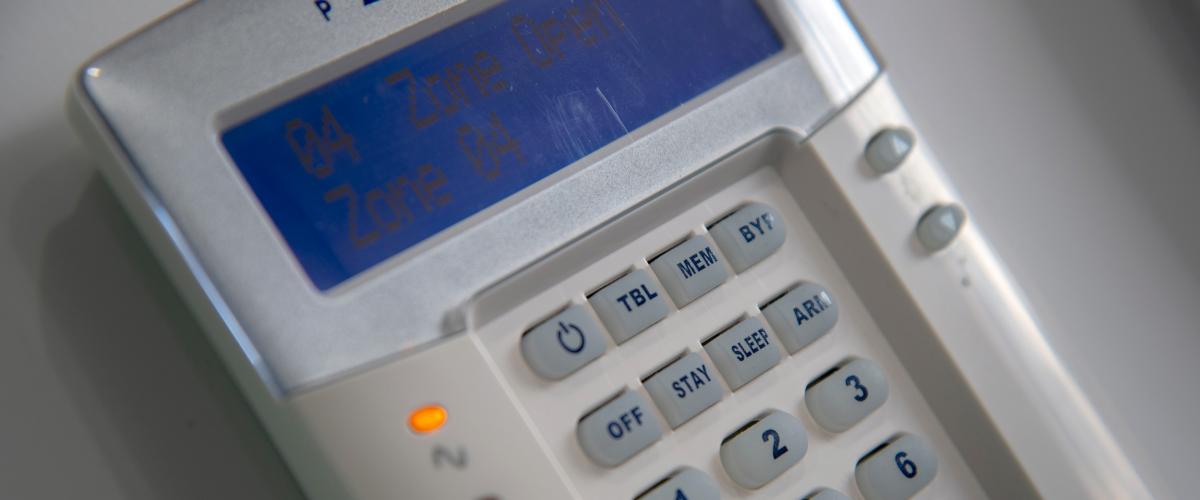
BYPASS PROGRAMMING
The installer can program certain zones with the bypass option. This will enable you to program the system to bypass certain zones when you arm the protected area. When a zone is bypassed, it will remain unarmed once the system is armed. This option may be useful, for example, when you are having issues with a zone that is part of the protected area. The system will keep the bypassed zone(s) in memory until the area is armed. Once the area is disarmed, the system will unbypass the zones.
To bypass a zone:
The zone must have the Bypass option programmed by the installer.
Your User Access Code must be programmed to enable the Bypass option.
Your User Access Code must have access to the zone’s Area Assignment.
Fire Zones cannot be bypassed
Zone Bypass
| How do I activate the Zone Bypass feature for a zone?
2) Enter your Access Code. 3) Enter the zone number and press [BYP] once the zone you want to bypass appears. |
PANIC ALARMS
Your system can be programmed to send an alarm to your Security Company to alert them that you require emergency assistance when you press a pre-determined combination of Number Buttons on the keypad. The three Panic Alarms can be programmed to request help from the police, a medical facility, the fire department, or anyone you wish. Ask your installer about programming these features in your system.
Emergency Panic
When you press the 1 and 3 buttons at the same time and hold them for two seconds, the system will generate an alarm. The alarm can be programmed to be either silent or audible according to your preference.
Medical Panic
When you press the 4 and 6 buttons at the same time and hold them for two seconds, the system will generate an alarm. The alarm can be programmed to be either a silent or audible according to your preference.
Fire Panic
When you press the [7] and [9] buttons at the same time and hold them for two seconds, the system will generate an alarm. The alarm can be programmed to be either a silent or audible according to your preference.
Access Codes allow access the system. These codes can be programmed to permit access to all or some features and areas. The installer will program User Access Codes to be four digits, six digits, or variable from one to six digits in length. Each digit can be any value between zero and nine. If the installer programmed your system to accept a variable code length, you may have to press the [ENTER] button after entering their User Access Code. Only the System Master Code cannot be less than 4 digits.
Wireless Keypad User Programming
1) Press the power button in the top left of your keypad.
2) Enter the Master Code.
3) Choose a desired user number, all user numbers require 2 digits to be inputed, for example, User 1 will be 01 or User 2 will be 02.
Note: A user code that is already taken will come up solid on the keypad, for example, if user 6 is taken by a person already, the number will be solid on the keypad.
4) Enter the user code that you would like for that user, the code must be a minimum of 4 numbers (unless setup otherwise by the installer). You will need to enter the code twice, after the first entry you will hear a beep, after the second entry you will hear a beep beep beep.
5) Press enter to confirm the code. After this, the keypad will return you to the User Selection Screen, if the User Number you selected is solid, this means you have successfully added the user.
Hardwired Keypad User Programming
1) Press the power button in the top left of your keypad.
2) Enter the Master Code.
3) Choose a desired user number, all user numbers require 2 digits to be inputed, for example, User 1 will be 01 or User 2 will be 02, with this keypad you are able to use the ▲ and ▼ buttons to scroll through the users.
Note: A user code that is already taken will come up solid on the keypad, for example, if user 6 is taken by a person already, the number will be solid on the keypad.
4) Enter the user code that you would like for that user, the code must be a minimum of 4 numbers (unless setup otherwise by the installer). You will need to enter the code twice, after the first entry you will hear a beep, after the second entry you will hear a beep beep beep.
5) Press enter to confirm the code. After this, the keypad will return you to the User Selection Screen, if the User Number you selected is solid, this means you have successfully added the user.
How do I set the time & date?
1 Press the [POWER] key.
2 Enter your [MASTER CODE].
3 Press [TBL].
4 Press [5].
5 Enter time* in the [HH.MM] format. If HH = 13 or more, skip to step 7.
6 Select time format. [1] = 24hr; [2] = AM; [3] = PM.
7 Enter the date in the [YYYY/MM/DD] format. You have now set the time & date. Press [CLEAR] to exit.
*For SP4000 / SP65 systems, time must be entered in 24hr format. Omit step 6 (time format).